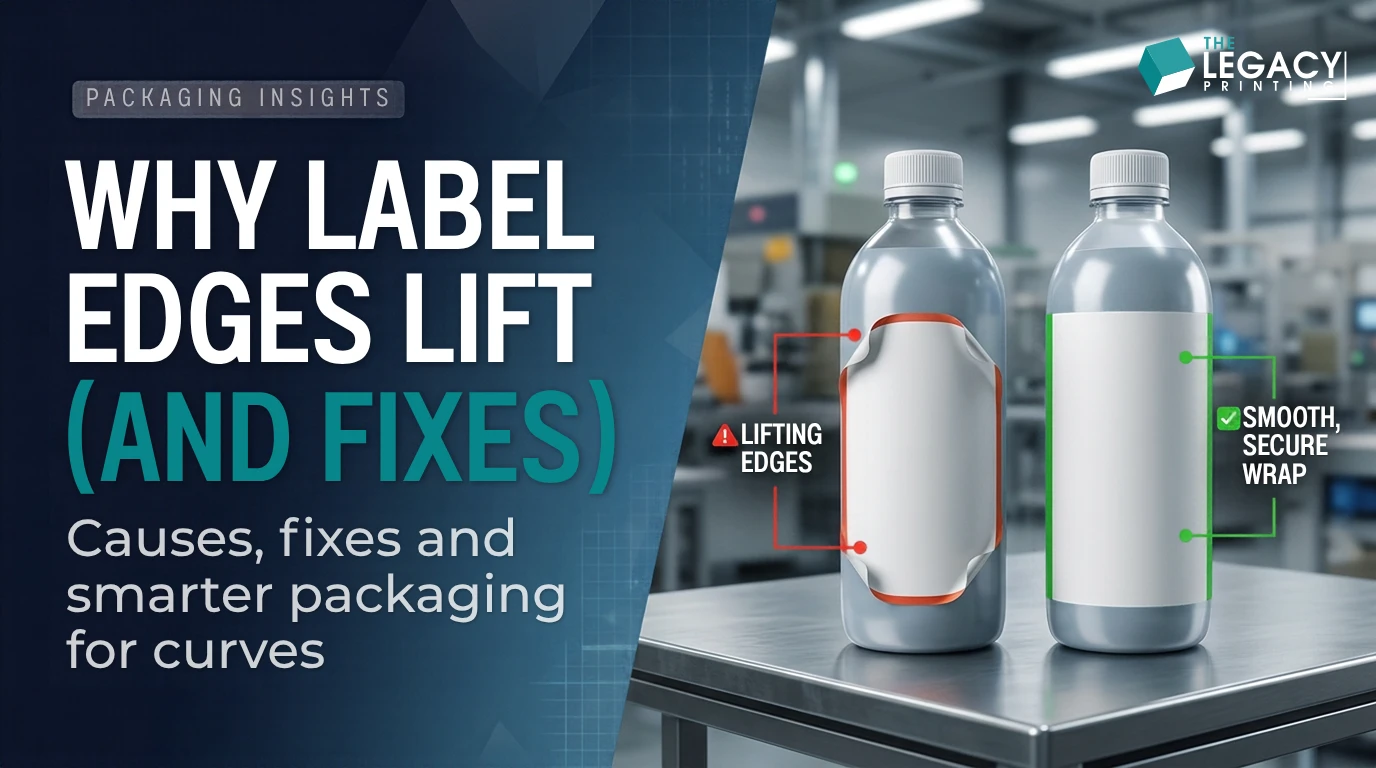
A lifting label looks like a glue problem. Most of the time, it's really a fit problem. Label flagging happens when the edge or end of a label pops up off a jar, bottle or tube, like a tiny flag on a pole. The cause is usually a mismatch: the label is too stiff, too big or the wrong shape, or the adhesive doesn't suit the container.
The good news? You can fix most causes before you print, once you know what to look for. And if your container curves too tightly for any label to sit flat, there's a smart way around it. Put your main artwork on a flat box or sleeve instead!
What Is Label Flagging? (And How Is It Different From Adhesive Transfer?)
Label flagging is when part of a label lifts away from the container instead of lying flat. It's usually an edge, or the loose end of a wrap-around label. Adhesive transfer is a different problem. This label industry glossary describes it as glue moving off the label and onto the surface it was stuck to.
What flagging looks like
Most product labels are pressure-sensitive labels (PSA labels). These are sticker-style labels that stick when you press them on. Each one has three parts. The printed top layer is the facestock, made of paper or plastic film. Under it sits a layer of glue. The release liner is the backing sheet the label sits on until you peel it off.
Flagging shows up in a few places. You'll see it at the end of a wrap-around label, which goes all the way around a bottle. It also starts at square corners and along the top or bottom edge of a jar that narrows. People in the label trade call it edge lift, too.
Here's the tricky part: a label can look perfect when you put it on and start lifting later. Why? A label that's stiffer than the curve keeps trying to spring back to flat, a little at a time.
Flagging vs ooze vs adhesive transfer: which problem do you have?
These terms sound alike, but each one has its own cause. Find what you see in the first column, then read across.
| What you see | Name | What's happening | Usual cause |
|---|---|---|---|
| Edge, corner or overlap end lifts up | Flagging / edge lift | The label pulls away from the surface | Label too stiff, wrong size or shape, weak bond |
| Sticky ring or dark line around the label | Ooze / bleed / halo | Glue squeezes out past the label edge | Heat, pressure or too much glue; rubber-based glue in warm storage |
| Glue left on the jar after peeling | Adhesive transfer | Glue moves from the label onto the container | Often a glue that isn't matched to the surface or the job |
| Bubbles in the middle of the label | Bubbling / blistering | Air or gas is trapped underneath | Air during application; new plastic releasing gas |
| Small folds near the top or bottom | Wrinkling | A flat label can't follow the curve | Label too tall for a tapered container |
Why Do Labels Peel at the Edges? 7 Common Causes
Labels peel at the edges when the label "wants" to be flat more than it wants to stick. That tug-of-war comes down to seven things: shape, stiffness, adhesive, surface, conditions, pressure and corners.
1. The shape and size don't match the container
A label that's too big, or wasn't designed for a curve or taper, will flag. A tapered container gets wider or narrower from top to bottom, a bit like a cone. Wrapping a flat rectangle around it is like wrapping a party hat in square gift paper. Something has to bunch up or lift.
2. The facestock is too stiff for the curve
Stiff labels have "memory." Bend a plastic ruler around a soda can and let go, and it springs straight. A stiff label does the same thing slowly, pulling its edges off the curve. The tighter the curve, the harder that pull gets.
3. The adhesive is wrong or too weak
Removable adhesive is made to peel off cleanly, so it may not hold a label bent around a tube. Avery's guide to labels not sticking and flagging calls this out directly. Permanent adhesive is made to stay on. Tack matters as well. Tack is how fast the glue grabs when it first touches the surface.
4. The surface is dirty, oily or "low-energy"
Dust, finger oils, condensation and mold-release agents all get between the glue and the container. (Mold-release agents are slippery coatings used when plastic bottles are made.)
Then there's surface energy, which means how easily glue spreads on a surface. Plastics like PP and PE have low surface energy, so glue struggles to grip them. Glass and metal are much easier. Picture water beading up on a freshly waxed car instead of spreading out. Good bonding needs wet-out, which means the glue flows into every tiny bump on the surface.
5. Cold, damp, hot or humid conditions
Cold glue can't flow into the surface, so the first bond is weak. Heat does the opposite: it softens the glue and can cause curling and ooze. High humidity can weaken the bond, too.
Brand-new plastic containers bring their own trouble. They may go through outgassing, which means slowly releasing tiny amounts of gas. That gas can form bubbles under the label.
6. Low pressure and not enough dwell time
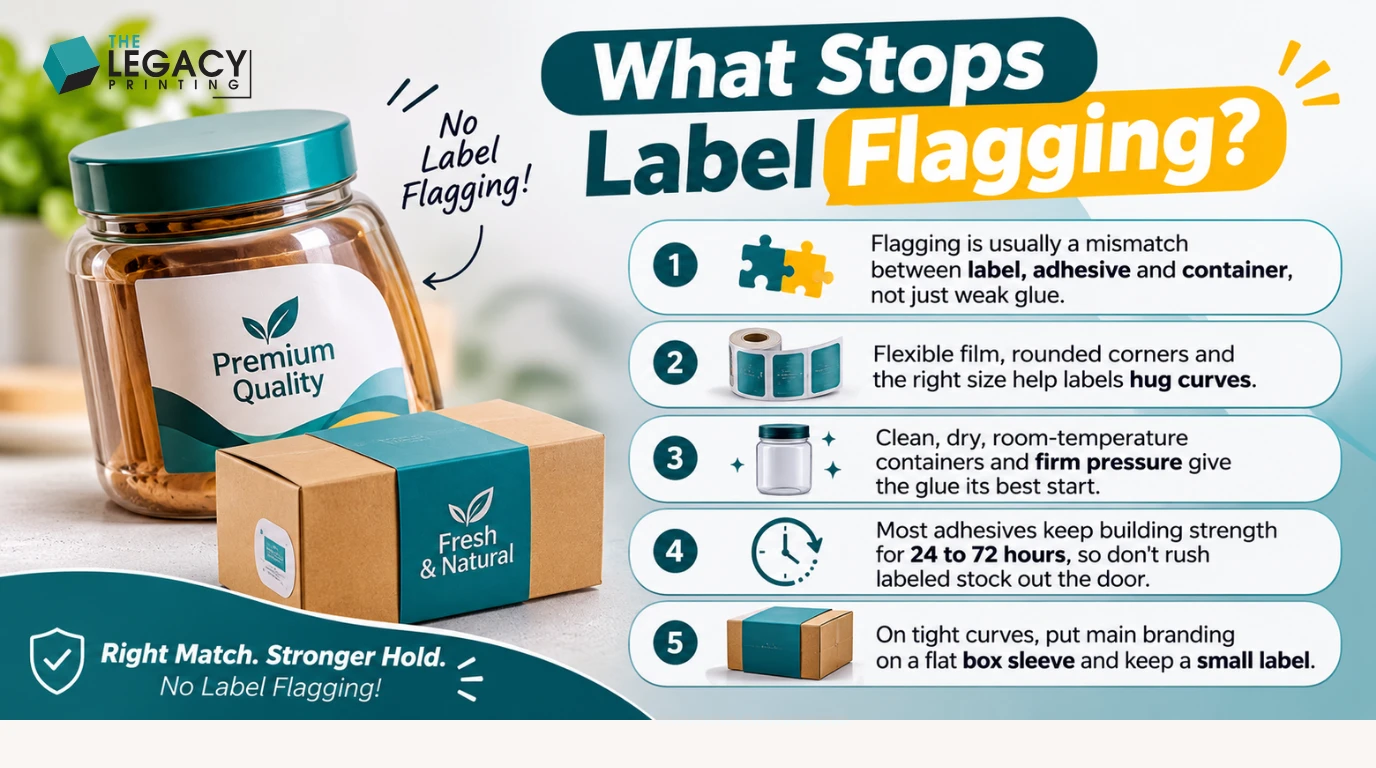
Pressure-sensitive glue needs a firm press to make full contact. It also needs dwell time, the waiting period while the glue builds strength. According to these pressure-sensitive adhesive application tips, most of these adhesives keep getting stronger for 24 to 72 hours after you apply them. Ship too soon, and products rubbing together in transit can catch a weak edge.
7. Square corners
A sharp corner is the easiest spot for a peel to begin. It works like the corner of a piece of tape that your fingernail catches. Once one corner lifts, dust and handling can work it up even more. Rounded corners give a peel nowhere easy to start.
What Stops Label Flagging
Cause-and-Fix Table: Match the Symptom to the Solution
Each symptom points to a likely cause. Some have a quick fix, but the lasting fix almost always happens at the design stage.
| Symptom | Likely cause | Quick fix now | Prevent it on the next print run |
|---|---|---|---|
| Overlap end lifts on a tube or bottle | No overlap, stiff label, or coating under the tail | Press the overlap firmly for 5 to 10 seconds | Add the overlap to the label size; leave an uncoated area under the tail |
| Top or bottom edge lifts on a tapered jar | Flat rectangle on a cone shape | Re-pressing is only a short-term fix | Use a die-cut curved (arc) shape, sized from the top and bottom measurements |
| Corners lift first | Square corners | Press the corners hard | Order rounded corners |
| Lifts on plastic, fine on glass | Low-energy plastic (PP or PE) | Clean and dry the surface, then apply a new label | Ask for an adhesive made for that plastic |
| Lifts after the fridge or a cold stockroom | Applied cold, or condensation | Bring jars to room temperature and dry them | Label at room temperature; wait before chilling |
| Sticky ring around the edge | Ooze from heat or soft glue | Store cooler; wipe the edge | Ask about an acrylic adhesive; store labels away from heat |
| Looks fine at first, lifts later | Stiff facestock or not enough dwell time | Press again | Switch to a more flexible material; wait before shipping |
| Bubbles on brand-new plastic bottles | Outgassing or trapped air | Smooth from the center out | Let fresh containers rest before labeling |
Label Material for Curved Surfaces: What to Look For Before You Order
A good label for a curved container is flexible, cut to the real shape and backed with an adhesive that matches the container material. Check these six things before you approve any label print.
Facestock: film or paper?
Flexible plastic films such as BOPP and vinyl are a common choice for curves. Paper can be fine on wide, straight-sided jars, where the label barely has to bend. Why it matters: the facestock decides how hard the label fights the curve.
Even film has limits. BOPP and vinyl handle gentle slopes well but can still struggle on sharp tapers. That's worth knowing before you place a big order.
Adhesive: permanent, high-tack and matched to the surface
For curves, look for a permanent, high-tack, flexible adhesive. Rubber-based glues grab fast and cost less. But they handle heat, sunlight and chemicals less well, and they can ooze in warm rooms. Acrylic glues are the usual answer to that ooze.
Why it matters: a "stronger" glue isn't automatically the answer. As this guide to label adhesive basics explains, the right glue is matched to your container material and the temperature where it lives. A squeeze bottle is a good example. It flexes every time someone uses it, so a glue that's too rigid can let go at the edges.
Size, overlap and edge margin
Measure the real container, not the catalog drawing. Wrap a strip of paper around the body, mark where the ends meet, and measure the strip. That's your circumference, the distance around the container. For a wrap-around label, add the overlap to that length.
Then leave 1/8 to 1/4 inch of space around the edges of the label area, as this label application troubleshooting guide suggests. Our easy guide to measuring your product uses the same careful approach for boxes.
Shape: rounded corners and die-cut arcs
Die-cut means cutting a label or box into an exact shape. The cut follows a dieline, the flat outline that shows where the cut goes. Rounded corners reduce edge lift. On a tapered jar, measure both the top and bottom circumference. That way the label can be cut as a gentle arc that follows the slope.
Coating under the overlap
Varnish and lamination make labels look great. Lamination is a thin clear layer that protects the print. But glue doesn't grip a coated surface well. On tube labels, ask for an uncoated strip where the tail lands on top of the label start. Then the overlap sticks label-to-label.
A mock-up on your real container
Ask your printer for a sample or mock-up, and stick it on the exact jar or tube you'll sell. A similar size from another supplier isn't good enough, because small changes in shape or plastic can change how a label behaves. Leave it for a few days, squeeze it, and put one in the fridge if your product lives there.
Custom Product Labels for Jars and Tubes: Quick Choice Table
Choose by container shape first, then by material and adhesive. If your container falls in the last row, give a box or sleeve a serious look.
| Container | Example products | Label shape and size | Material and adhesive to ask about |
|---|---|---|---|
| Wide, straight-sided jar | Candles, honey, body butter | Rectangle with rounded corners and an edge margin | Paper or film; permanent adhesive |
| Tapered jar or tub | Face creams, scrubs | Die-cut arc sized from top and bottom measurements | Flexible film; high-tack adhesive |
| Rigid plastic bottle (PP or PE) | Shampoo, lotion | Rounded corners; no taller than the straight part of the bottle | Film with an adhesive made for low-energy plastic |
| Squeeze tube | Hand cream, gel | Wrap-around with overlap built into the size; uncoated strip under the tail | Flexible film; flexible, high-tack adhesive |
| Small or tightly curved container | Lip balm, roll-ons, perfume bottles | Shorter, smaller label | Keep the label simple; move main branding to a box or sleeve |
Label vs Box Sleeve Packaging: When to Move Your Branding
Some containers just don't want a label. Tight curves and shapes that curve two ways at once make flat labels wrinkle, fold or lift. One common fix is to shorten the label. Another is to move away from labels altogether.
You have two main options. A shrink sleeve is a printed plastic film that shrinks around the bottle with heat. It gives full 360-degree coverage and follows tapered shapes. A printed box or sleeve takes the opposite route: it gives your artwork a flat surface where nothing has to bend. This shrink sleeve vs pressure-sensitive label guide walks through when each type of label fits best.
| Option | Best for | Watch out for |
|---|---|---|
| Pressure-sensitive label only | Straight or gently curved containers | Flagging on tight curves and tapers |
| Shrink sleeve | Tapered or oddly shaped bottles that need full coverage | A different production process than standard labels |
| Small label + printed box or sleeve | Small, curved or premium products | Plan the box size around the container |
That last row is where we come in. A flat paperboard custom sleeve box or folding carton has room for your logo, story and product details, with no curve fighting the print. The label on the jar only needs the basics, so it can be small enough to sit flat.
For example, a lip balm with a tiny label can slide into one of our printed custom lip balm boxes with gold foil and spot UV. Spot UV is a shiny coating added to just one area, like your logo. On a store shelf, the box does the selling. At home, it makes the unboxing feel special! The same idea works for creams, serums and perfumes, too. You can browse our custom cosmetic boxes to see styles that suit small, curved containers.
Here's what you get with The Legacy Printing:
- Free design support, plus a digital 3D rendering to approve before production
- No die and plate charges, even for custom sizes and shapes
- A low minimum order of just 50 boxes, so you can test a new product line
- Free shipping to any address in the USA, with no hidden freight costs
- Kraft paper and recycled cardboard in almost every category, with no extra premium (see our eco-friendly boxes)
Frequently Asked Questions
What is label flagging?
Label flagging is when the edge, corner or overlap end of a label lifts off a container. It's most common on tubes, bottles and tapered jars. It's also called edge lift.
Why do labels peel at the edges?
Usually the label is too stiff, too big or the wrong shape for the container. Other causes include an adhesive that doesn't suit the surface, a dirty or cold container, too little pressure, and square corners.
What causes adhesive transfer on labels?
Adhesive transfer means glue moves from the label onto the container and stays there after peeling. It often points to a glue that isn't matched to the surface or the job. Ask your label printer which adhesive suits your container.
What label material works best on curved surfaces?
Flexible films such as BOPP and vinyl work well on gentle curves, paired with a permanent, high-tack adhesive. On sharp tapers, even film can struggle. Test a mock-up on your real container first.
How long should labels sit before shipping?
Most pressure-sensitive adhesives keep building strength for 24 to 72 hours after you apply them. Give labeled products time to bond before they're packed tightly, chilled or shipped.
Should I use a label or a box sleeve?
Use a label alone on straight or gently curved containers. If your container curves tightly, keep a small label on it and put your main branding on a printed box or sleeve.
Get Packaging That Works With Your Labels
Lifting labels are frustrating, but they're rarely a mystery. Match the label shape, material and adhesive to your container, and most flagging goes away. When the curve is just too tight, let a flat box or sleeve carry your brand instead.
Not sure which box style fits your jar, tube or bottle? Tell us what you're selling and how many, and we'll suggest a structure, material and finish. Call 800 719 2780, email sales@thelegacyprinting.com, or Get a Free Quote and free design proof to get started. You can also ask for a sample kit and see the materials in your hands first!