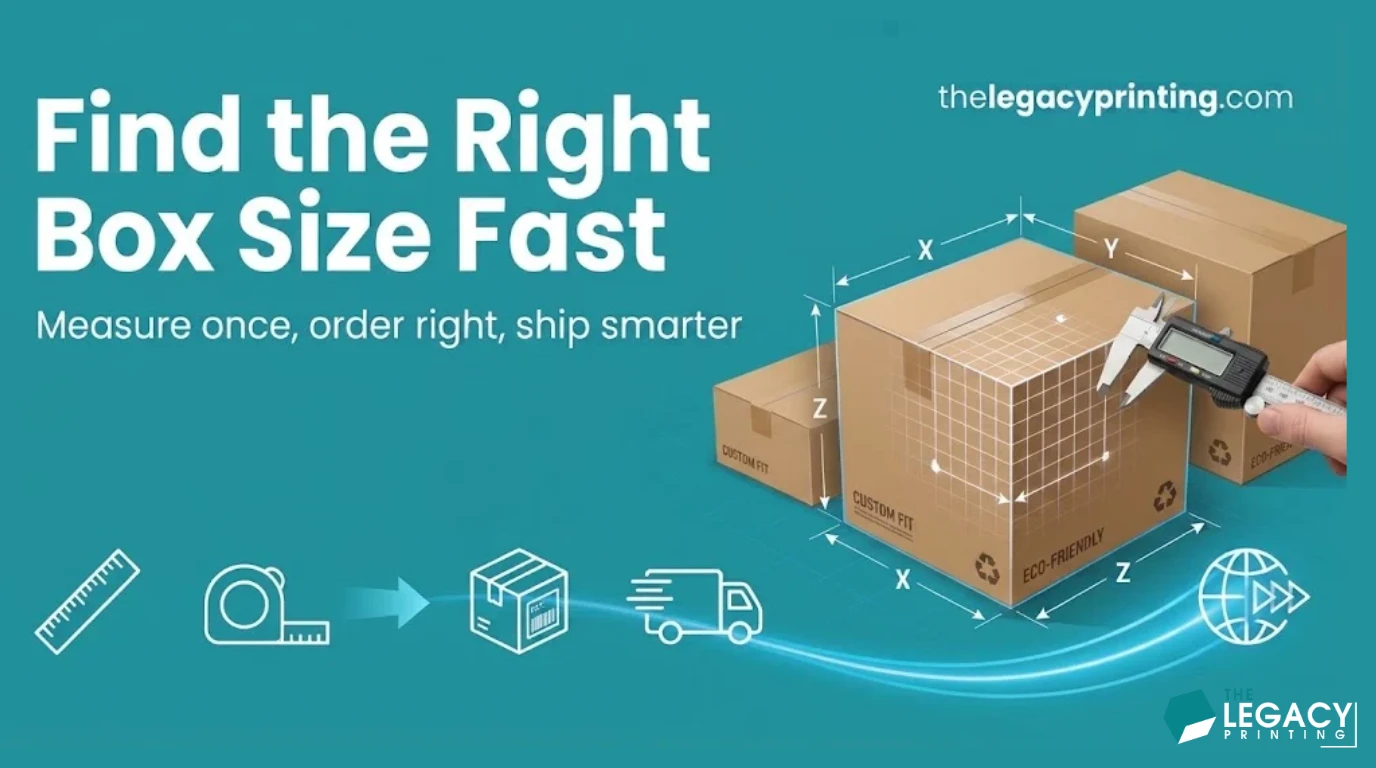
The most common sizing mistake is easy to make. You measure your product and send those exact numbers. Then the boxes arrive too tight to close. So what size box do you need for your product? Start with the product's size. Then add room for any insert, plus a small gap so the item slides in easily.
That total is the inside size, and it's the number your box maker needs. Get it right and most sizing problems go away. It's simpler than it sounds, and a few careful minutes with a ruler can save you a whole print run!
What Size Box Do I Need for My Product? The Short Answer
Your box size equals product size plus insert walls plus clearance, measured on the inside. Send those inside dimensions to your box maker in length x width x height order. Say clearly that they're inside sizes.
Product size + insert + clearance = inside size
Clearance is the small gap around your product. It lets the item slide in and out without a fight. Packaging Studio suggests adding about 0.25 in to each product dimension, plus the thickness of any insert or liner. For a retail box that holds one item, that's a safe place to start.
For example, say a jar is 3 in long, 3 in wide and 4 in tall. Add 0.25 in to each number. Your inside size is 3.25 x 3.25 x 4.25 in (8.3 x 8.3 x 10.8 cm). There's no insert and no padding, so you're done.
Why inside size is the number to give your box maker
Inside size is the space your product lives in. The outside size changes with the board thickness, and you might not choose the board until later. That's why corrugated boxes are usually listed by box specification by inside dimensions (L x W x H). When you send inside numbers, your product fits no matter which material you pick.
How Do I Measure a Product for a Custom Box?
Measure the product at its longest, widest and tallest points, in its final retail form. That means with the cap, pump, dropper or ribbon already on. This is the heart of how to measure for custom packaging.
What you need
- A ruler or tape measure. A firm ruler works best for small items.
- A digital caliper (optional). This small tool has two jaws and shows an exact size on a screen. It's handy for lipsticks, vials and lip balms.
- A notepad. Write each number down right away, with its unit.
- The real, finished product. A prototype can be a little smaller or larger than the final version.
Step-by-step measuring
- Stand the product the way it will sit in the box. An upright bottle and a bottle lying flat give you different heights.
- Measure the base. The longer side across the bottom is the length. The shorter side is the width.
- Measure from bottom to top. That's the height, including anything that sticks up.
- Include every extra part. Caps, pumps, droppers, handles, ribbon pulls, hang tags and shrink wrap all take up space.
- Measure two or three units and use the largest numbers. Handmade candles, soaps and baked goods often vary a little from piece to piece.
Odd shapes: measure the smallest rectangle around them
For a round, curved or uneven item, picture the smallest rectangular box it could fit inside. Then measure that imaginary box. Pressing the item against a wall or a heavy book helps you find the widest point. For a round jar, the length and the width both equal the widest part of the jar.
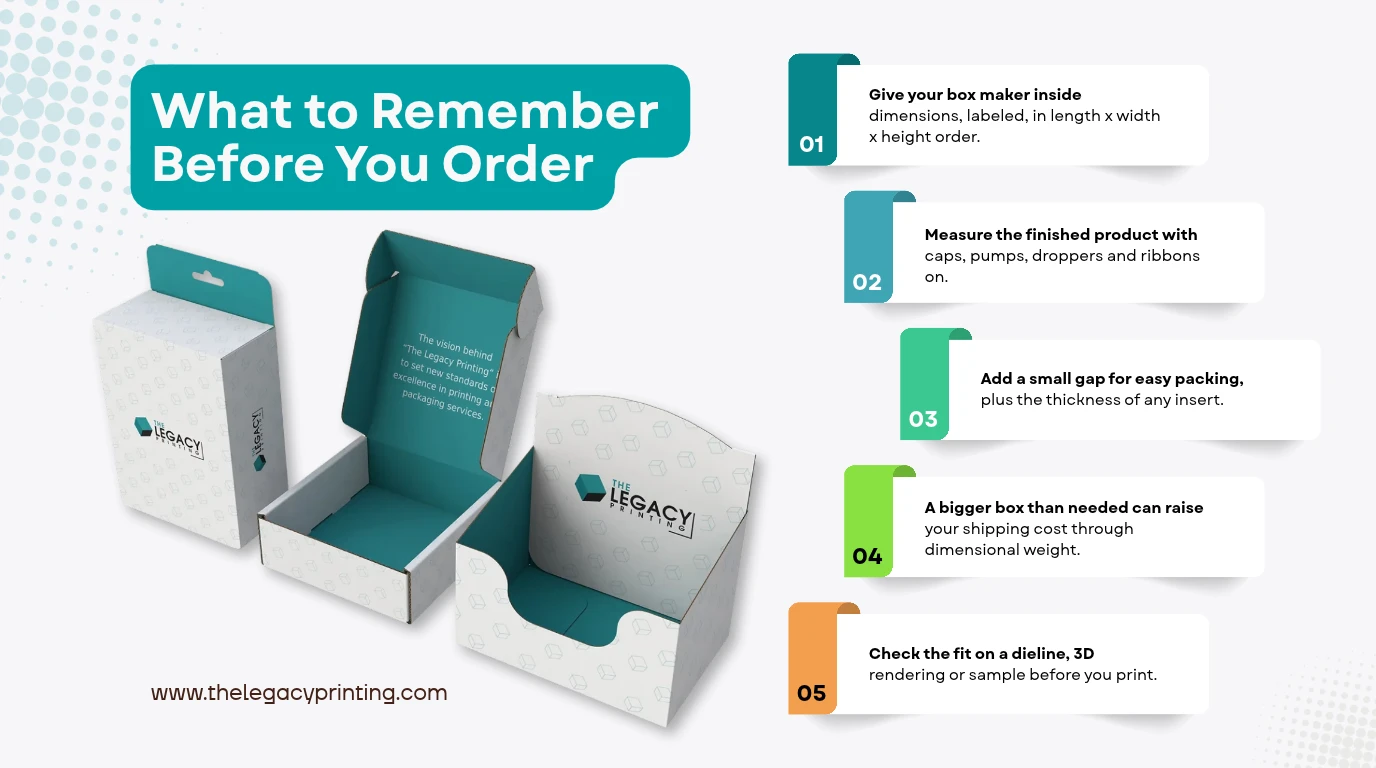
What to Remember Before You Order
Length, Width, Height: What Order Do I Write Them In?
Always write box sizes as length x width x height (L x W x H). Length is the longer side of the opening. Width is the shorter side, and height is the depth.
The L x W x H order, explained simply
The correct length width height box order follows the box opening, not the biggest number. This trips up a lot of first-time buyers. Take a tall lipstick box with a tuck end, which is a flap that tucks in at the end. Its opening is the small square on top, so length and width are small and height is the longest side.
A flat mailer box works the other way. Its opening is the big lid, so length and width are large and height is small. It's the same rule, with very different-looking numbers.
How to write your size so nobody misreads it
Label every number and say which size it is. For example: Inside: Length 8 in x Width 4 in x Height 2 in. Use one unit for the whole order, because mixing inches and centimeters is one of the fastest ways to get the wrong box.
Is Box Size Inside or Outside Dimensions?
For product fit, box size should mean inside dimensions. Outside dimensions describe the finished box from the outside. They're always bigger, because the board has thickness.
What each one means
- Inside (internal) dimensions: the empty space where your product sits. Use these for fit.
- Outside (external) dimensions: the size of the closed box from the outside. Shipping carriers use these numbers.
Example with board thickness
Each wall adds its thickness, and there's a wall on both sides. Say your box has an inside length of 8 in. If the board were 1/8 in thick (a round number, just for easy math), the outside length would be at least 8 1/4 in. Overlapping flaps and thick rigid board can add even more. That gap is the whole story behind inside vs outside box dimensions.
Corrugated board gets its thickness from flutes. A flute is the wavy layer between two flat sheets of paper. Flutes have letter names, such as B, C or E, and each one gives a different thickness and strength.
When outside size matters
Outside size counts when you ship, when the box must fit a store shelf, or when product boxes must fit inside a display tray or a larger shipper. In those cases, share both sizes and label each one.
Small size differences between boxes are normal. Box makers work within a tolerance, which is a tiny allowed difference from the target size. If your product needs a very exact fit, ask our team to confirm it on the dieline before printing.
How Much Extra Space Should I Leave Around My Product?
For a single retail item, start with about 0.25 in (about 6 mm) added to each dimension. Add more only for things you'll really pack, like an insert, tissue paper or padding for shipping.
| Situation | What to add to the product size | Good for |
|---|---|---|
| Snug retail fit | About 0.25 in per dimension | Lipstick, soap, tea, serum |
| With an insert | Insert wall thickness on each side, plus a small clearance | Glass bottles, gift sets, kits |
| Tissue or ribbon unboxing | The thickness of the wrap, measured when folded | Apparel, gifts, subscription boxes |
| Fragile item in a shipper | The thickness of your padding on every side, plus clearance | Glass candles, ceramics |
Void fill is the crinkle paper or other loose material that fills empty space in a shipping box. Measure the padding you'll really use, not the kind you plan to buy someday.
Why zero clearance backfires
A box with no gap looks tidy on paper. In real life, packing is slow, printed surfaces get scuffed, and lids may not close flat. Packaging Studio points out that a zero-clearance box is hard to pack the same way every time. Too much room causes the opposite problem: the product rattles around and can break.
Box Clearance for Inserts
With an insert, add the insert's wall thickness to both sides of each dimension it covers. Then add your small clearance. Measure the insert material itself instead of guessing.
Paperboard and molded pulp inserts
An insert is a piece inside the box that holds your product still. Paperboard inserts are cut and folded from the same type of board as many folding cartons. Molded pulp is pressed from paper fiber, a bit like an egg carton. Both add thickness, and that thickness has to fit inside the box.
A worked example
Picture a bottle for your serum boxes that measures 1.5 x 1.5 x 4.5 in with the dropper on. It sits in a paperboard insert that wraps all four sides. For this example, the insert wall is 1/8 in thick.
- Length: 1.5 in + 1/8 in + 1/8 in (two insert walls) + 0.25 in clearance = 2 in
- Width: the same math gives 2 in
- Height: 4.5 in + 0.25 in clearance = 4.75 in (no insert on top or bottom)
Your inside box size is 2 x 2 x 4.75 in (5.1 x 5.1 x 12.1 cm). If the insert also has a floor, add that thickness to the height too.
Multi-item sets and subscription kits
Lay all the items out exactly as you want customers to see them. Then measure the whole group as one shape. The tallest item sets the height, and the outer edges of the group set the length and width.
Leave a little space between pieces so fingers can lift each one out. For example, a candle, a soap bar and a thank-you card side by side need more than their sizes added together. If the layout feels tricky, our team makes a free 3D rendering before production, so you can see how everything sits.
How Does Box Size Affect My Shipping Cost?
A box that's bigger than it needs to be can cost you on every order. Carriers often charge by size, not only by weight.
What dimensional weight means
Dimensional weight (DIM weight) is a weight that carriers work out from the box size. They multiply length x width x height in inches and divide by a set number called a divisor. You then pay for whichever is greater, the actual weight or the DIM weight. The USPS Quick Service Guide on dimensional weight shows the method, though that page still lists the older divisor.
USPS switched to a divisor of 139 for Priority Mail Express, Priority Mail, Ground Advantage and Parcel Select. Read more about the USPS DIM weight change on July 12, 2026. Under the new rule, fractional inches round up to the next whole inch. USPS applies DIM weight only to packages over 1 cubic foot (1,728 cubic inches).
A quick shipping example
Here's a worked example of the 139 divisor. An 18 x 14 x 10 in box (45.7 x 35.6 x 25.4 cm) holds 2,520 cubic inches. Divided by 139, that's 18.13 lb, which rounds up to 19 lb. The same box was about 16 lb under the old divisor of 166.
So trimming a shipper that's too big can lower what you pay. Small retail boxes are often under 1 cubic foot, but they may still ride inside a larger mailer box. Use outside dimensions for these numbers, and check your own carrier's current rules.
Check the Fit Before You Print
A dieline is the flat, unfolded outline of your box, with the cut and fold lines marked. Checking your numbers on the dieline catches most mistakes while they're still free to fix.
Every order with us comes with a digital 3D rendering to approve before production. If you want to hold a box in your hand, request a sample kit. We follow up on requests within 2 hours, and kits ship within days.
Frequently Asked Questions
Should I give my box maker inside or outside dimensions?
Give inside dimensions for fit, and label them clearly. Add outside sizes only when the box must fit a shelf, a tray or a larger shipper.
How much clearance should I add for a snug fit?
About 0.25 in per dimension is a good starting point for one retail item. Add insert walls, tissue or padding on top of that if you use them.
Does a bigger box cost more to ship?
It can. Carriers bill the greater of actual weight or dimensional weight, so extra empty space may raise your price, especially on large shipping boxes.
What does a FEFCO code tell me about box size?
Nothing about size. A FEFCO code such as 0201 names the box style only. Here's what a FEFCO code does and doesn't tell you. You still need to share dimensions, material, printing and quantity.
Can I order a small run to test my box size?
Yes. Our minimum order is as low as 50 boxes, with no die and plate charges. That makes a small test run a low-risk way to check the fit.
What if I'm not sure which box style or material to choose?
Ask us! Tell us what you're shipping and how many, and we'll suggest a style, material and finish. You can also browse our boxes by style to compare options. Kraft paper and recycled cardboard are available in almost every category at no extra cost.
Get the Right Box Size the First Time
Your box is the first thing your customer touches, so the fit should feel right from the first open. Send us your product measurements, or even just the product details, and we'll help you work out the inside size.
You get free design support, a 3D rendering before production, no die and plate charges, and free shipping anywhere in the USA. Call 800 719 2780 or email sales@thelegacyprinting.com. Ready to start? Get a free quote and free design proof today.